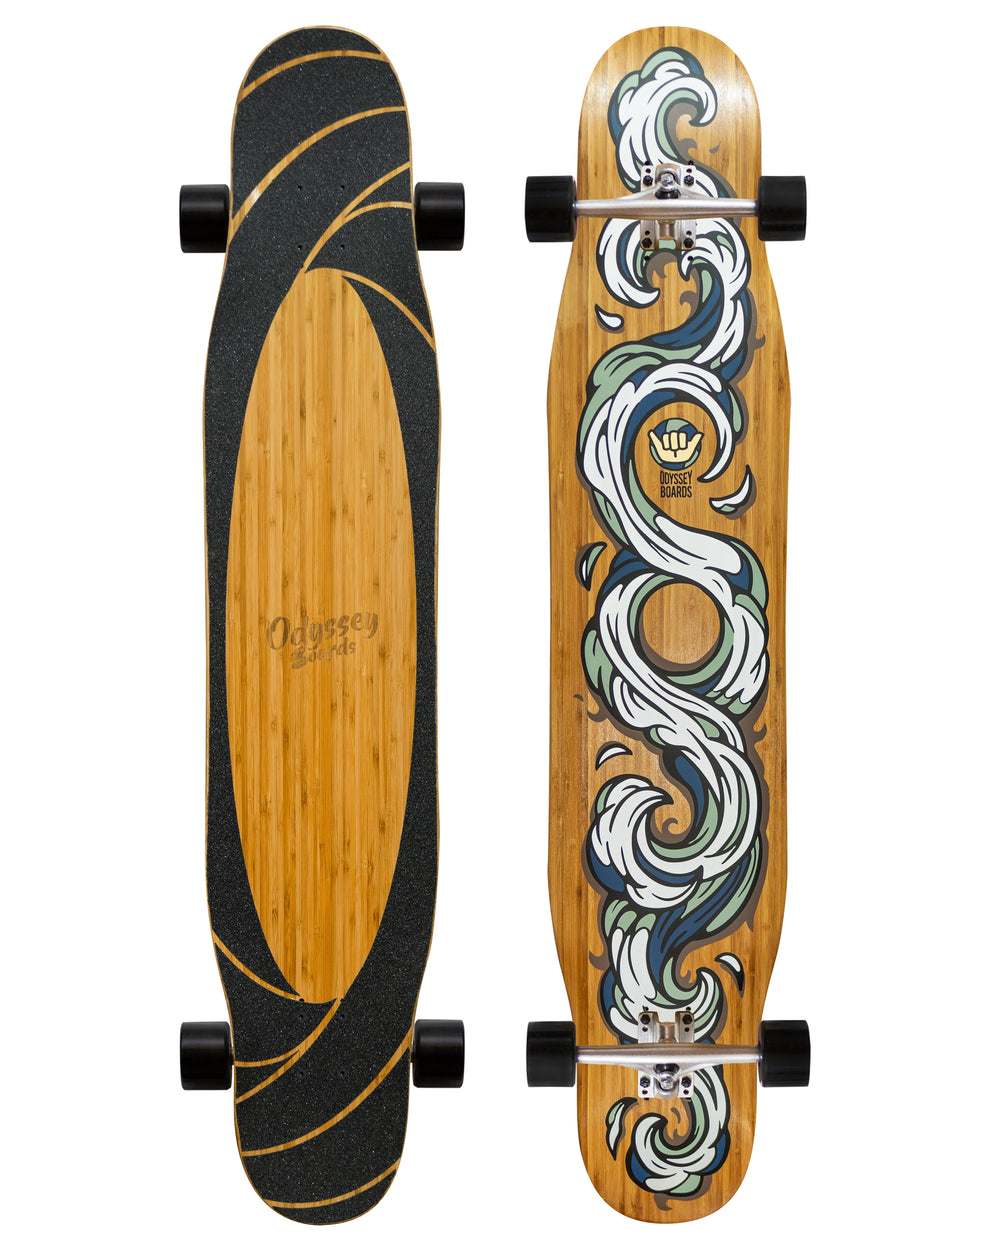
Basics of longboarding

Alright alright! Welcome to our series of online classes to get you started with longboarding. Congratulations on getting your first longboard. If you haven’t, what are you waiting for? Check out our guide on how to get your first longboard and when you’re ready, our Nahoa Longboard is right here waiting for you. Today’s blog will be covering the very basics of longboarding. These are fundamental steps you must master before moving on to learning tricks.
As a beginner in longboarding, it’s advisable to always ride your board until you are familiar with it. Your longboard should feel like an extension of yourself! If you’re still not at this stage, you’re in for a treat. We’ve summarized everything you gotta do before you take the next step.
Equipment
It’s essential you have some protection when you just start longboarding. Protection comes in the form of protective guards and helmets. These keep you from nasty cuts and road rash when you fall - and trust me you’ll fall at least once when you’re starting out! Helmets protect the most important part, your head. On the other hand, your protective guards will cover your knees, elbows and wrists.
One last thing to note is the shoes you wear. Your shoe should have a flat sole which isn’t too thick. This will give better balance while ensuring a better board feel so you know where the right spots are.
Finding your stance
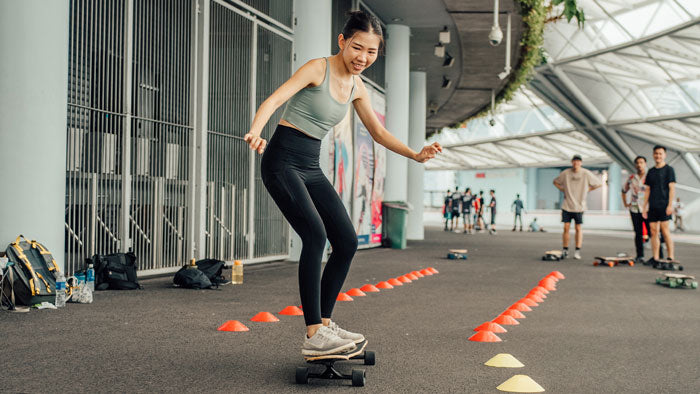
The next step is finding which foot is your front foot. If your front foot is your left, you’re a regular rider. If it’s your right, you’re riding goofy. You keep your front foot just below the front trucks and most of your weight on it. For your back foot, there’s really no hard and fast route. Find a position that’s comfortable but keep in mind not to have your feet too close together.
Kicking off
You need to learn how to kick off before performing anything else on your longboard. It’ll be broken down into a few steps here.
Now that you’ve found your stance, put your front foot just slightly below the front trucks. You can use the bolts as a guide. Keep your weight on your front foot! With your back foot on the ground, kick off in a parallel motion. Your weight should still be on your front foot.
Be careful not to get your back foot caught in your back wheels while kicking off. This will cause your board to stop abruptly and you’ll be thrown forward! Additionally, it may seem counter-intuitive - but keep your weight on your front foot always, even when you’re kicking off. If you’re constantly shifting your weight between your two feet, you’ll easily lose your balance and fall.
Once you’ve gained a speed you’re comfortable with, bring your back foot onto your board. I’d personally recommend having your feet shoulder width apart, but you do you. Find a stance you’re most comfortable with, but here’s a rule of thumb: No wider than over the trucks, and no narrower than shoulder width.
Turning
Turning is another essential component of riding. This should be second nature to you after enough practice! You’ll need turning to change your direction, avoid obstacles and do tricks.
Continuing from the previous step, turning requires you to rotate your front foot to point toeside (where your body is facing). This will allow you to make turns more easily as you have greater leverage across the board’s width.
Turning can be done heelside or toeside. If you’re regular, heelside is your left and if you’re goofy, that’ll be your right. To carve heelside, all you need to do is to distribute your weight to your heels. This will cause your board to slant heelside and carve in that direction. For toeside carves, simply put your weight on your toes.
Adjusting your board
After playing around with your longboard, you might find it either too difficult to turn or too unstable. This is most probably due to two factors: your experience and the tightness of your trucks. Over time you should build a better sense of balance. But here we’ll talk about the quickest fix - your trucks.
If you find your board too wobbly, you can tighten your trucks. Use a t-tool and turn the kingpin nut clockwise or to the right. On the flip side, if turning is too difficult, you should loosen your trucks. Turn the kingpin nut anticlockwise or to the left.
One way to remember the direction is “righty tighty, lefty loosie”!
Getting off your board
Now that you’ve gotten the hang of kicking off, turning and adjusting your board, you now need to learn how to get off your board. The easiest way is to simply hop off and continue jogging in the direction you were headed (so the sudden change in momentum won’t throw you off). This however can be dangerous at higher speeds.
Fret not, the foot brake is a way more effective method. With your weight on your front foot, slowly lower your back foot to the ground. Keep it parallel to your board. The friction between the ground and your foot will slow the board to a stop.
This method is also useful to speed check - you can use it to slow yourself down when you feel like you’re going too fast. Ideally though, you shouldn’t be riding at a speed that’s too high for you to do a speed check.
Conclusion
If you read this guide all the way to here, good job! You definitely deserve a pat on the back. It’s imperative you master all these before moving on to more advanced forms of longboarding, such as freestyle, freeriding, or just commuting around your neighborhood.
You’ll surely fall once or twice in your longboard journey. But what’s most important is that you pick yourself up, analyze what you did wrong, work on it and improve. This is what I love about skating. You learn something new every session, and that’s amazing.
Happy skating and stay stoked!